How to Add Embroidery Lace to your Designs
The art of creating embroidery lace is one that is sure to impress. Embroidery lace has become so popular because of its versatility. You can always add a bit of “wow” to your designs by adding a touch of embroidery lace. It’s a great way to add a little “pizzazz” to any design, whether it’s a table runner, wall hanging, or even a baby blanket. Even though the price tag may be higher than other options, adding embroidery lace to your designs will give you a feeling of satisfaction and pride in seeing the finished project. Not to mention, it will definitely make your designs stand out from the crowd. Plus, you get the added bonus of having a beautiful piece of art on display in your home or office.
There are so many ways to add the right amount of detail and texture to your designs. Here are 3 steps to add embroidery lace to your designs.
-
Start With a Design Sketch
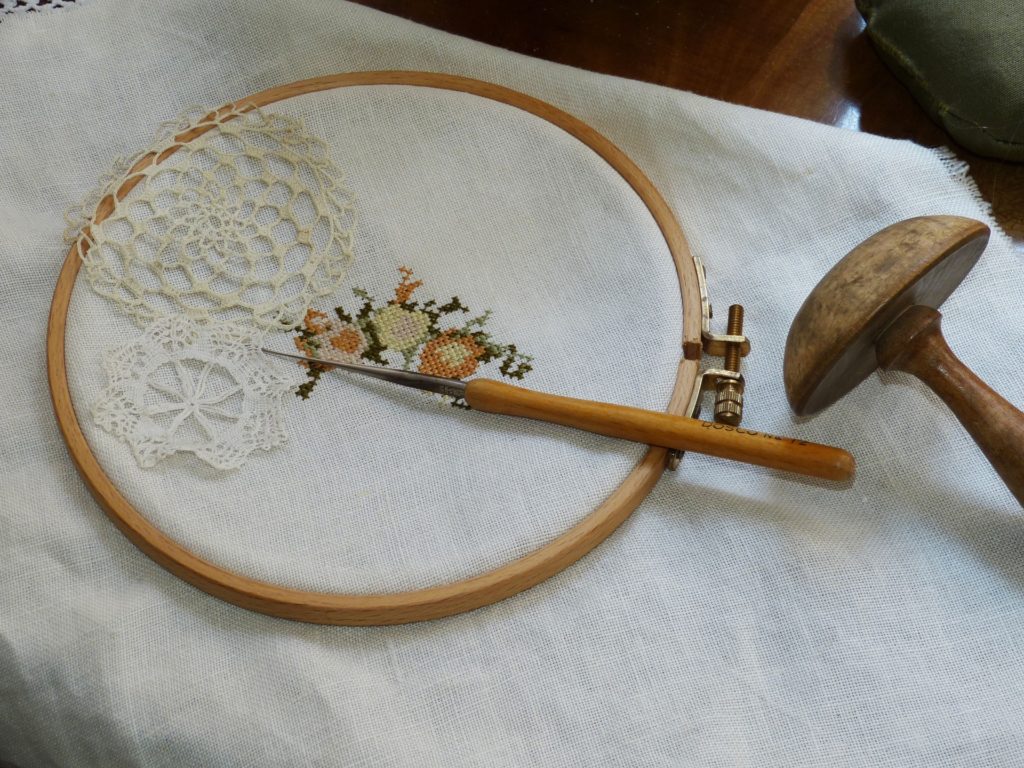
To add embroidery lace to a design requires you to start with a design sketch. The sketch shows you the overall composition of the design. Then, you can begin the embroidery lace process. A design sketch is the starting point for any new embroidery project. In the beginning, an artist draws a picture of what they want their piece to look like, usually on paper, before transferring it to fabric. The sketch is a rough representation of the design. The artist may draw lines that indicate where stitches are placed and what color thread will be used for stitching. The sketch is not meant to be detailed, but rather provides a general idea of what the design should look like.
-
Build the Stitch
After you have decided which design you want, you can start to stitch it.
A stitch is an important part of quilting. It’s the way you sew together the different pieces of fabric into a quilt. There are two kinds of stitches that you can use to build the stitch. You can use the running stitch and the backstitch. In some cases, you can use both. The running stitch is useful for making straight lines. You can use it to mark off patterns. The running stitch is often used in quilting. It’s very useful when you want to sew a straight line. The running stitch is also used to mark a pattern. If you want to mark the outline of the quilt, you can use the running stitch. The backstitch is useful for making curved lines. You can use it to connect parts of the quilt. It’s also useful to connect the edges of a patch.
-
Embroider Your Stitches
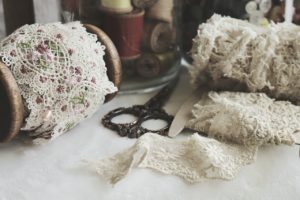
Make sure you have enough thread. Embroidery lace takes more thread than you might think! If you don’t have enough, you can buy more. The next step is to decide what kind of stitch you want to use. You can use a straight stitch, a satin stitch, a chain stitch, or a whip stitch. Some of the stitches are easy, but some require practice. If you want to learn to sew, you can go to your local department store and ask someone to teach you how to sew.
You can even take sewing lessons online. And you can buy some embroidery lace by yard. If you have a friend who knows how to sew, she can teach you. You can also ask your mother, sister, or brother to teach you how to sew. If you don’t have any family members who know how to sew, you can hire a seamstress to teach you. If you have friends who don’t know how to sew, you can ask them to teach you how to embroider. It’s okay if they don’t know how to do it right. They can show you and you can watch videos to learn how to do it right.
Conclusion
In conclusion, I hope these tips helped you to gain some new inspiration and ideas. The most important thing to remember is that each project, design, and idea will require a different approach. So, don’t worry if your initial attempts don’t turn out how you’d hoped. Just keep practicing, asking questions, and trying new things. Keep an open mind and don’t be afraid to experiment. At the end of the day, you’ll be the only person who will judge whether your work has been successful or not, so take pride in your creations and work hard!